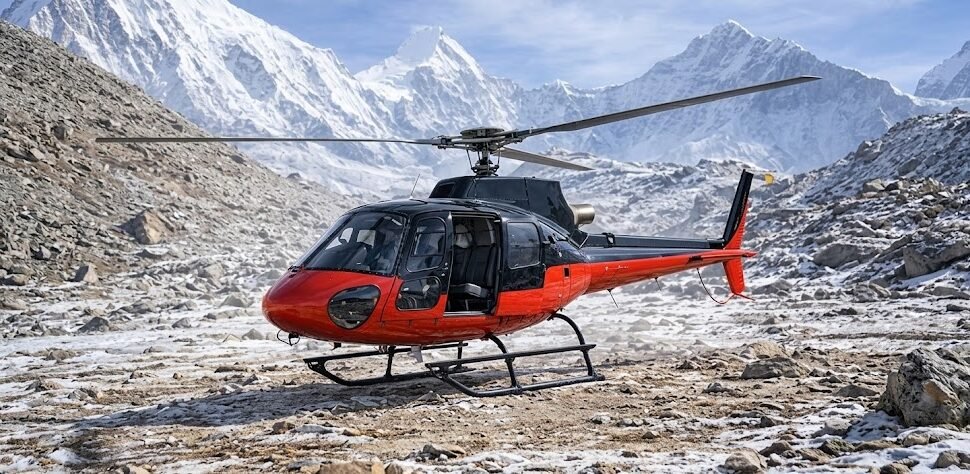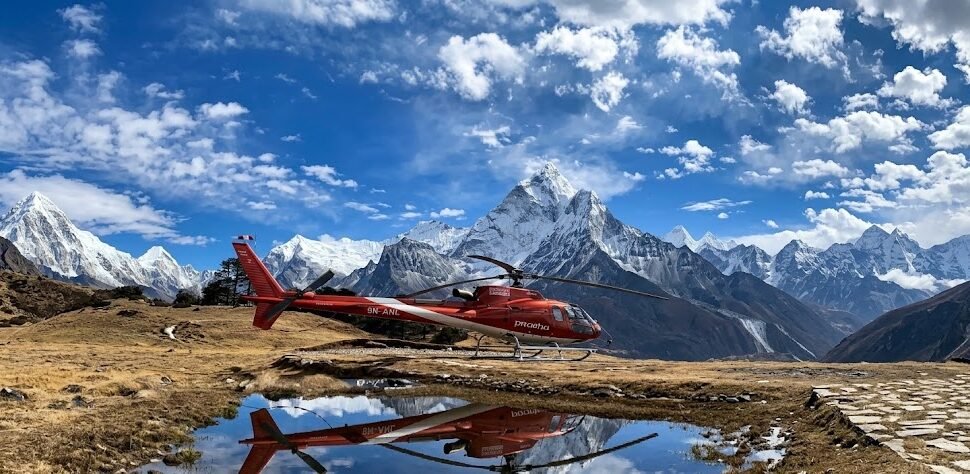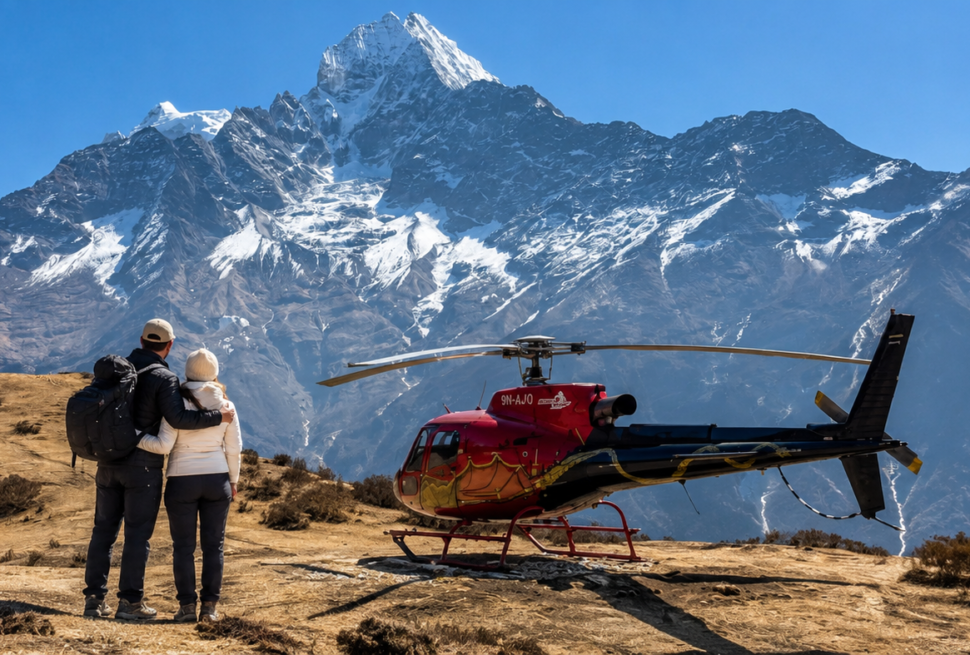
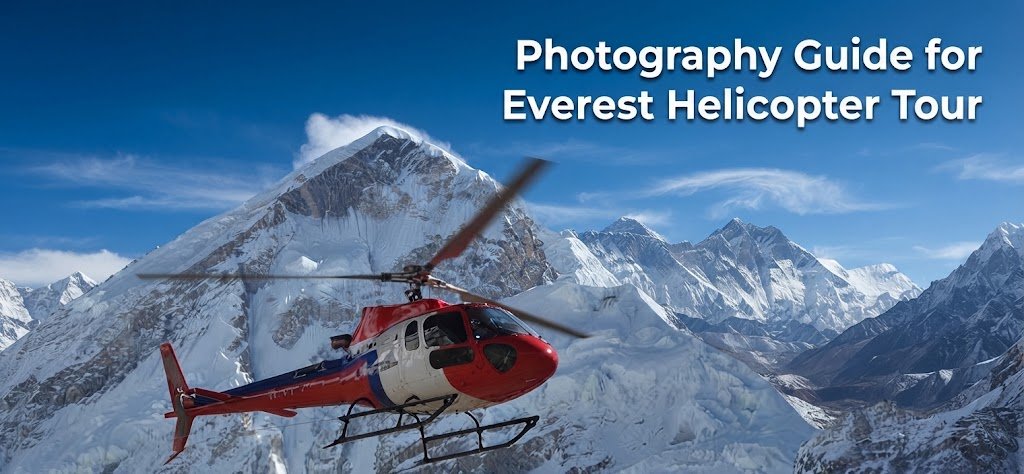
Photography on an Everest helicopter tour is technically demanding in ways that a standard travel shoot is not. You are moving fast, at high altitude, through a vibrating aircraft, often shooting through plexiglass or an open door, in rapidly changing light conditions. Here is what you need: the practical decisions, camera settings, seat choices, and gear considerations that will give you the best chance of coming back with images that match what you actually saw.
The Fundamental Challenge: Vibration
Helicopter vibration is the primary technical obstacle in aerial photography. Unlike a fixed wing aircraft where the engine sits ahead of the cabin, in a helicopter the main rotor is directly above the passenger compartment. The rotor frequency transmits into everything: the airframe, the seats, the windows, and anything you press against the fuselage. If you brace your camera against the window frame to steady it, you are connecting directly to the vibration source.
The solution is to not brace against the aircraft at all. Hold your camera with both hands, arms slightly bent, keeping your body as the buffer between the aircraft vibration and the camera. This technique is counterintuitive because the instinct is to brace, but experienced aerial photographers consistently report that handholding with relaxed arms produces sharper results than bracing in a helicopter.
Keep your shutter speed high enough to freeze both subject motion and camera motion. In the bright light of a clear Himalayan morning, 1/1000 second or faster is achievable without going above ISO 400 on most current cameras. Start there and adjust from your first shots in the air.
Which Seat to Request
Most Everest helicopter tours use helicopters that seat four to five passengers in addition to the pilot. The seat choices matter for photography.
The front passenger seat beside the pilot gives you the widest unobstructed forward view. The pilot usually prefers passengers who know what they are doing in the front seat because an inexperienced front passenger can be distracting, but if you communicate clearly before boarding that you are there to photograph and will not interfere with controls, most pilots are cooperative. The front seat disadvantage is that you are slightly more inside the aircraft than rear passengers and the instrument panel cuts into your low-angle shots.
The rear passenger seats along the sides of the helicopter give access to the lateral views. On the outbound flight from Kathmandu, the left (west-facing) side sees Langtang and other western ranges. The right (east-facing) side has the better Ama Dablam and Khumbu Valley views as you fly northeast. On the return, these sides reverse. If you know the route, you can think about which side to take for the shots you want most.
The door seat in helicopters with removable doors (some operators will remove the door on request for photography charters) is the premium option. Without a door, you have no glass distortion, no reflections, and a completely open frame. This requires booking specifically as a photography charter and is more expensive than a standard tour seat, but for serious photographers it is the only configuration that gives a fully clean shooting environment.
Shooting Through Plexiglass Windows
For standard seat passengers shooting through the cabin windows, plexiglass introduces two specific problems: reflection and distortion. Both are manageable.
Reflection from inside the cabin bounces off the window and appears in your frame. The fix is to get your lens as close to the plexiglass as possible without touching it, and to use a rubber lens hood pressed lightly against the glass to block ambient light from behind the lens. A black cloth or jacket draped over your head and camera also works. The goal is to eliminate the light path between the interior of the cabin and the glass surface.
Distortion in plexiglass is usually minimal in the centre of the window and increases toward the edges. Shoot through the middle of the window when possible and move your body position rather than pointing the lens toward the edges.
Autofocus can focus on the glass surface rather than the landscape behind it. Use single-point AF aimed at a high-contrast element in the distance, or switch to manual focus and focus at infinity. At altitude with good light, depth of field at most focal lengths from 24mm to 200mm is sufficient that infinity focus keeps everything in the frame sharp.
Camera Settings for Everest Helicopter Photography
Set your camera to aperture priority mode with the aperture between f/5.6 and f/8. This gives enough depth of field to keep both near and far elements sharp without diffraction softening from very small apertures. Set your minimum shutter speed (in the auto ISO or auto shutter configuration) to 1/1000 second. Set ISO maximum to 1600. In practice, on a clear morning over the Khumbu, the camera will be working at ISO 100 to 400 with shutter speeds well above 1/1000 second, and you will simply be capturing clean, sharp frames.
Turn off in-body image stabilization for handheld shots in the helicopter. This sounds counterintuitive, but IBIS systems are calibrated for the frequency range of human hand movement. Helicopter vibration runs at a different, higher frequency, and some IBIS implementations actually amplify vibration rather than cancel it when the frequency is outside their design range. Test this yourself by shooting a burst with IBIS on and off in the early minutes of the flight, then compare on the camera screen during a quiet moment.
Shoot in RAW format. The light in the Khumbu at altitude is extreme: very bright snow and ice against very dark rock and shadow. RAW gives you significantly more latitude to recover highlights and lift shadows in post-processing than JPEG. A JPEG that blows the Khumbu Glacier white is difficult to recover. A RAW file of the same scene typically has two to three extra stops of highlight detail you can bring back in Lightroom or equivalent software.
Focal Length Choices
A mid-range zoom covering approximately 24mm to 105mm handles most of what you will want to shoot on an Everest helicopter tour. Wide angles (24mm to 35mm) capture the panoramic views that communicate scale: Everest as part of a landscape rather than a cropped summit. Mid-range focal lengths (50mm to 85mm) give more natural perspective for portraits against mountain backgrounds. The 85mm to 105mm end is useful for isolating specific peaks or features like the Khumbu Icefall.
Telephoto lenses above 200mm are difficult to use in a moving helicopter. The longer the focal length, the more magnified the effect of vibration on image sharpness, and at 400mm or 500mm you are fighting a significant technical battle even in ideal conditions. If you bring a long lens, treat it as a bonus tool rather than a primary shooting option.
A wide-angle prime (24mm or 28mm) as a secondary lens is worth considering. At the landing at Everest Base Camp or Kala Patthar, you step out of the helicopter for 10 to 15 minutes and photograph on stable ground. A wide angle on the ground, with 360 degrees of mountains visible, produces images that telephoto cannot: the full circularity of the high Himalayan environment with the helicopter in the foreground and Everest, Lhotse, and Nuptse filling the background.
Drone Photography
Operating a drone on an Everest helicopter tour is not permitted. Sagarmatha National Park prohibits drone flights without prior written authorization from the park authorities, and the Civil Aviation Authority of Nepal controls airspace in the Khumbu. Also, operating a drone in the vicinity of other aircraft (including your own helicopter) creates collision risk. Tour operators will refuse to allow drone launches from the helicopter or from the landing sites at base camp.
Photographers who want drone footage of the Everest region must apply separately for filming permits and coordinate with both CAAN and Sagarmatha National Park management. This is a separate process entirely from booking a helicopter tour and is aimed at professional film productions rather than individual photographers.
The Landing Stop: Your Best Photography Window
Most Everest helicopter tours include a landing at Syangboche (approximately 3,800 metres) for tea and acclimatization, and then a second landing at either Everest Base Camp or Kala Patthar. The landing stops, typically 10 to 15 minutes each, are your most stable shooting opportunities of the entire tour.
At Kala Patthar specifically, you are at 5,644 metres with an unobstructed 360-degree view. Everest is directly in front of you to the north. The Khumbu Icefall drops into the valley below. Pumori’s summit is directly above. If the light is right and you have a clear morning, 15 minutes at Kala Patthar with a good camera is enough for dozens of strong frames.
Use the first two minutes after landing to observe rather than shoot. Let your eyes adjust to the brightness, identify the strongest compositions, and make camera setting decisions on the ground rather than scrambling. The remaining 12 to 13 minutes of stable ground time produce better results than 15 minutes of reactive shooting.
Light Conditions at Altitude
Morning light in the high Himalaya is exceptional. The sun rises late in the deep valleys of the Khumbu (the mountains block the horizon to the east), but once it clears the ridgeline it illuminates the peaks with warm golden light while the valleys remain in blue shadow. This two-tone quality, warm peaks against cool shadow valleys, is one of the defining visual characteristics of Himalayan morning photography and is available on early-departing helicopter tours.
By midday, the light becomes harsh, flat, and blue-toned at altitude. Shadows disappear, cloud often builds, and the dimensional quality of the morning light is gone. This is another strong reason why helicopter tours depart at dawn: the photography is better at 7:00 AM than at 11:00 AM, in addition to the weather and wind considerations.
The high UV environment at 5,000 metres produces slight colour shifts in photographs taken through glass, typically a cyan or blue cast in shadows. This is easy to correct in post-processing but worth knowing about in advance so you are not alarmed by the colour of your first review images on the camera screen.
Memory Cards and Battery Management
Cold temperatures at altitude reduce lithium battery performance significantly. A battery that shows 80 percent charge in Kathmandu may show 40 percent after 15 minutes outside at 5,644 metres in November. Carry at least two fully charged batteries and keep your spare in an inside jacket pocket against your body to maintain its temperature. When you step out at Kala Patthar or base camp, switch to the body-warmed spare and put the in-camera battery back in your pocket to warm up.
Bring more memory card space than you think you need. The tendency on helicopter tours is to shoot in bursts to maximize the chance of catching a sharp frame in the vibrating aircraft, and burst shooting fills cards faster than single-shot photography. A 128 GB card in RAW format holds roughly 1,500 to 2,000 frames on most full-frame cameras, which is comfortable for a 4-hour tour. A 64 GB card will work for most photographers who are selective, but having a backup card costs very little and removes one source of mid-tour anxiety.
Related reading: Kala Patthar Landing Tour | What to Pack | What You See on the Tour | EBC and Gokyo Combined Tour